Homemade Coconut Cream: Ditch Canned, Get Fresh & Dairy-Free
Are you tired of store-bought coconut cream that often comes with stabilizers, gums, or just a slightly off taste? Imagine a world where your curries are richer, your desserts creamier, and your dairy-free lifestyle effortlessly delicious. That world is closer than you think, and it starts right in your kitchen with incredibly
easy homemade coconut cream. Forget the intimidating thought of DIY coconut products; making your own luscious, thick coconut cream is surprisingly simple, yielding a fresh, natural product that blows canned versions out of the water. This isn't just about a healthier alternative; it's about unlocking a level of flavor and versatility that transforms your cooking and baking.
For too long, many of us have relied on pre-packaged solutions, assuming the homemade route was reserved for culinary experts. But the truth is, creating fresh coconut cream from scratch is one of the most rewarding kitchen projects you can undertake, especially since we'll explore not just one, but
two super simple ways to achieve it. Whether you're navigating lactose intolerance, embracing a dairy-free or gluten-free diet, or simply seeking pure, unadulterated flavor,
Why Homemade Coconut Cream Is Your Dairy-Free Secret will reveal its magic. Get ready to elevate your culinary game and discover how easy it truly is to make this versatile ingredient at home.
Why Homemade Coconut Cream Reigns Supreme
The allure of homemade coconut cream goes far beyond just a fun kitchen project. It's a game-changer for several compelling reasons. Firstly, let's talk about
taste. Freshly made coconut cream possesses a vibrant, pure coconut flavor that simply cannot be replicated by its canned counterparts. Store-bought options, while convenient, often contain preservatives, emulsifiers, and stabilizers that can subtly alter the taste and texture. When you make it yourself, you control every ingredient, ensuring a product free from unwanted additives and packed with natural goodness.
Secondly, for those with dietary restrictions or preferences, homemade coconut cream is a dream come true. It's naturally
dairy-free, gluten-free, and vegan, making it a perfect substitute for heavy cream in a myriad of recipes. From rich savory dishes to decadent desserts, it offers a creamy texture and delicate sweetness without compromising on dietary needs. This control over ingredients also means you can tailor the consistency slightly to your preference, something not possible with pre-packaged items. Plus, the rewarding feeling of creating something so essential and delicious from scratch adds an extra layer of satisfaction to every meal. It's a simple step that significantly enhances the quality and freshness of your entire culinary repertoire.
Demystifying Coconut: Water, Milk, and Cream Explained
Before we dive into the "how-to," let's clear up some common confusion surrounding coconut products. The coconut is a truly versatile fruit, offering a spectrum of liquid delights, each with its own unique characteristics.
*
Coconut Water: This is the clear liquid found naturally inside young, green coconuts. It's renowned for being a refreshing, hydrating beverage, often enjoyed on its own or used in smoothies and cocktails. It's light, slightly sweet, and relatively low in fat.
*
Coconut Milk: Both coconut milk and coconut cream are made from the white flesh (meat) of mature coconuts blended with water. The key difference lies in the *ratio* of coconut flesh to water. Coconut milk uses less coconut meat and more water, resulting in a thinner consistency, similar to dairy milk. It's a staple in many Asian cuisines for its lighter body and subtle flavor.
*
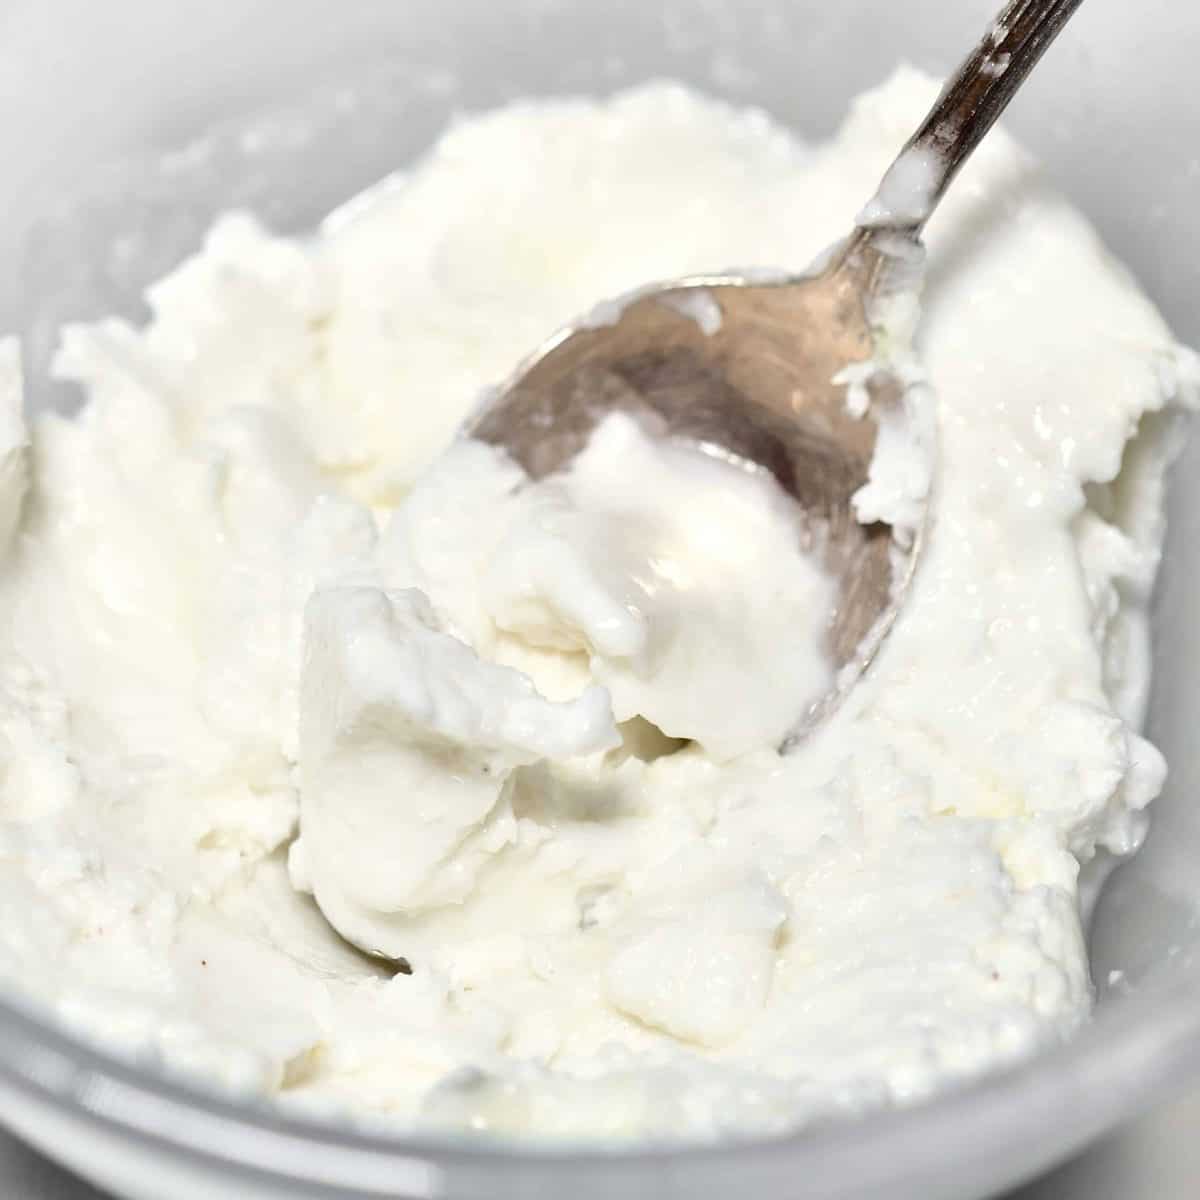
Coconut Cream: This is where the magic happens for richness and body. Coconut cream is made with a higher proportion of coconut meat to water, yielding a significantly thicker, denser, and more concentrated product. It has a higher fat content, which gives it a luxurious, velvety texture akin to heavy dairy cream. This higher fat content also allows it to separate beautifully, creating that thick, scoopable cream we love. Understanding this distinction is crucial for culinary success, as substituting one for the other can drastically change a recipe's outcome.
Two Effortlessly Easy Ways to Make Coconut Cream at Home
Preparing your own fresh coconut cream is surprisingly straightforward, and we're going to explore two fantastic methods. Both will result in a superior product compared to store-bought, but one offers an ingenious "cheat" for maximum ease. Regardless of your chosen path, you'll also gain a delicious by-product: fresh desiccated coconut, perfect for baking or snacks, ensuring zero waste! For a deeper dive into these methods, be sure to read
Master Easy Homemade Coconut Cream: Two Simple Methods.
Method 1: The Traditional Blend & Strain Approach
This is the classic way to make coconut cream, and while it involves a couple of steps, it's far from complicated.
1.
Crack and Extract: Start with a fresh, mature coconut. Crack it open (a hammer or heavy cleaver works well), drain the water (enjoy it, or save it for smoothies!), and carefully pry out the white flesh. You can use a coconut tool or a sturdy knife and spoon. Remove any brown skin attached to the flesh.
2.
Blend: Cut the coconut meat into smaller pieces. Place them into a high-speed blender. Add a minimal amount of hot (but not boiling) filtered water – just enough to cover the coconut pieces. The less water you use, the thicker your cream will be. Typically, for a thick cream, you might use 1 cup of water for every 2 cups of fresh coconut meat.
3.
Process: Blend on high speed for 3-5 minutes until the mixture is thick and creamy, and the coconut meat is finely pulverized. You should see a uniform, milky liquid.
4.
Strain: Place a fine-mesh sieve or a nut milk bag over a large bowl. Pour the blended mixture through, allowing the liquid to drain. For an even thicker cream, squeeze the nut milk bag firmly to extract as much liquid as possible. The remaining solids in the bag are your fresh desiccated coconut.
5.
Chill & Separate: Transfer the strained liquid to a jar or container and refrigerate it for at least 4-6 hours, or preferably overnight. As it chills, the rich, thick coconut cream will rise to the top and solidify, while a thinner coconut milk will remain beneath. Simply skim off the thick cream for use.
Method 2: The Juicer 'Cheat' for Ultimate Simplicity
This method is genuinely a game-changer if you own a juicer, specifically a slow masticating (cold press) juicer. It minimizes fuss and cleanup, offering an incredibly simple path to creamy perfection.
1.
Prepare Coconut Meat: Just like Method 1, crack open your mature coconut, drain the water, and extract the white flesh. Cut the coconut meat into pieces small enough to fit into your juicer's chute.
2.
Juice: Slowly feed the coconut meat pieces into your juicer. *Do not add water at this stage.* The juicer will efficiently separate the rich, concentrated coconut cream directly into your collection jug, leaving the fibrous desiccated coconut pulp in the waste bin.
3.
Chill (Optional): The cream produced by this method is often thick enough to use immediately. However, for an even firmer, scoopable cream (ideal for whipping), you can still refrigerate it for a few hours. This allows any residual thinner liquid to separate, making it easier to achieve that dense, heavy cream consistency.
This juicer method truly lives up to the "easy" promise, making fresh coconut cream accessible even on your busiest days!
Beyond the Bowl: Incredible Uses for Your Fresh Coconut Cream
Once you've mastered the art of making fresh coconut cream, a world of culinary possibilities opens up. Its rich, dairy-free versatility makes it a star in both sweet and savory applications.
*
Curries and Soups: This is a classic application. Coconut cream adds unparalleled richness and body to your favorite curries, like a creamy Thai Green Curry, without watering down the flavors as coconut milk might. It's equally fantastic in blended soups, lending a velvety texture to dishes like butternut squash soup or a vibrant green pea soup.
*
Dairy-Free Whipped Cream: This is perhaps one of the most delightful uses. Chill your homemade coconut cream thoroughly (ensure it's the very thick, solidified part), then whip it with a touch of sweetener (like maple syrup or agave) and vanilla extract until light and fluffy. It's an incredible topping for pies, tarts, fresh berries, or even a dollop on your morning coffee.
*
Desserts and Baking: Use it as a direct substitute for heavy cream in many dessert recipes. Think creamy puddings, rich chocolate ganaches, or as a base for dairy-free cheesecakes. It can also be folded into cake batters for added moisture and subtle flavor.
*
Smoothies and Drinks: Elevate your morning smoothie or evening cocktail with a splash of coconut cream. It adds creaminess and a tropical twist to fruit smoothies, milkshakes, and is, of course, essential for a truly authentic piña colada.
*
Ice Cream: While I haven't personally experimented with this extensively, coconut cream forms an excellent base for homemade dairy-free ice cream. Its high-fat content lends itself beautifully to a smooth, scoopable frozen treat.
Tips for Success & Storage
To ensure your homemade coconut cream-making experience is a resounding success, keep these practical tips in mind:
*
Choose Wisely: Always opt for fresh, mature coconuts. You can tell they're mature by their brown, fibrous husks. Shake them to ensure there's still water inside – a good sign of freshness. Avoid coconuts that feel unusually light or have cracks.
*
The Right Water Temperature: When blending, using hot (but not boiling) water helps to extract the maximum amount of fat and flavor from the coconut meat, resulting in a creamier product.
*
Don't Waste the Pulp: The leftover coconut pulp from either method is essentially fresh desiccated coconut. Spread it on a baking sheet and dehydrate it in a very low oven or a food dehydrator until completely dry. Store it in an airtight container and use it in granola, baked goods, or as a crunchy topping.
*
Storage: Homemade coconut cream should be stored in an airtight container in the refrigerator. It typically stays fresh for 3-5 days. Separation is natural, just skim off the thick cream as needed. If you make a large batch, you can also freeze the cream in ice cube trays or freezer-safe containers for up to a month. Thaw in the refrigerator before use.
*
Adjust Consistency: If your cream is too thick after chilling, you can gently re-warm it and whisk in a tiny amount of hot water to thin it. If it's too thin, you might have used too much water initially, but it will still be delicious coconut milk!
Embracing the simplicity of making your own coconut cream is a journey towards fresher flavors, healthier choices, and a deeper appreciation for natural ingredients. With these two easy methods, you're well-equipped to transform your kitchen into a hub of dairy-free deliciousness.
Conclusion
Ditching the canned versions for your own
easy homemade coconut cream is more than just a culinary upgrade – it's an investment in fresh flavor, healthier living, and empowering kitchen skills. Whether you opt for the traditional blend-and-strain method or take the juicer 'cheat,' you'll be rewarded with a rich, versatile, and utterly delicious ingredient that far surpasses anything store-bought. From luxurious curries and velvety soups to decadent dairy-free whipped cream and tropical cocktails, the possibilities are endless. So, grab a coconut, choose your method, and embark on a rewarding journey that will undoubtedly enhance your cooking and delight your taste buds. Your taste buds (and your body) will thank you for making the switch to homemade goodness!