Master Easy Homemade Coconut Cream: Your Dairy-Free Delight in Two Simple Methods
Have you ever shied away from making coconut cream from scratch, assuming it’s a complicated culinary feat best left to store-bought cans? Many of us have been there, convinced that achieving that luscious, thick, dairy-free cream at home would require special skills or equipment. The truth, however, is wonderfully liberating: crafting your own fresh, high-quality coconut cream is surprisingly simple, especially when you discover not one, but *two* incredibly easy methods. This article will guide you through both, revealing how to transform humble coconut meat into a versatile, delicious ingredient that will elevate countless dishes, all while providing the satisfaction of a truly homemade product. Get ready to kick those canned versions to the curb and embrace the superior taste and texture of homemade.
Why Embrace Homemade Coconut Cream? Beyond Just Being Easy
The allure of making your own coconut cream goes far beyond the sheer ease of the process. When you create
easy homemade coconut cream 2 ways, you unlock a world of benefits that canned alternatives simply can't match. First and foremost is the unparalleled freshness and flavor. Store-bought coconut cream, while convenient, often contains additives, thickeners, or preservatives, and can sometimes carry a metallic aftertaste from the can itself. Homemade versions, on the other hand, are pure, vibrant, and bursting with natural coconut essence.
For those navigating dietary restrictions, homemade coconut cream is a true hero. It’s naturally dairy-free and gluten-free, making it an ideal substitute for heavy cream in an astonishing array of recipes, from savory curries to decadent desserts. This makes it a perfect fit for vegan, lactose-intolerant, or gluten-sensitive diets. Furthermore, making it at home gives you complete control over the ingredients, ensuring you're consuming only the purest form of this versatile ingredient.
An exciting bonus? Regardless of which method you choose, you'll be left with a delicious by-product: fresh, moist coconut pulp. This isn't waste; it's a valuable ingredient! You can dry it out to make your own desiccated coconut for baking, granola, or even as a thickener in smoothies. It’s a zero-waste win that adds even more value to your culinary endeavors. Curious about more reasons to make the switch? Discover
Why Homemade Coconut Cream Is Your Dairy-Free Secret.
Demystifying Coconut Products: Cream vs. Milk vs. Water
Before we dive into the "how-to," let's clarify a common point of confusion: the distinctions between coconut water, coconut milk, and coconut cream. While all three come from the same amazing fruit, their composition and uses vary significantly.
*
Coconut Water: This is the clear, naturally occurring liquid found inside young green coconuts. It's refreshing, hydrating, and often enjoyed as a beverage or used in smoothies and cocktails. It's low in fat and has a very light consistency.
*
Coconut Milk: Made by blending the white flesh of mature coconuts with water, then straining the mixture. Coconut milk has a milky consistency, similar to dairy milk, and is widely used in cooking, particularly in Asian and tropical cuisines. It has a moderate fat content.
*
Coconut Cream: This is where the magic happens! Coconut cream is also made from blending mature coconut flesh with water, but with a significantly higher ratio of coconut meat to water. This results in a much thicker, richer, and higher-fat product, akin to dairy heavy cream. The cream typically separates from any residual liquid (thinner coconut milk) when chilled, making it ideal for scooping and using in recipes where a dense, creamy texture is desired. It’s the densest and most luxurious of the three.
Understanding these differences is key to appreciating why coconut cream is such a prized ingredient for creating rich textures without dairy.
Method 1: The Traditional (Yet Still Easy!) Approach to Homemade Coconut Cream
This first method for making
easy homemade coconut cream 2 ways is widely considered the traditional approach, and while it involves a few steps, each one is incredibly straightforward. It's rewarding and yields a beautiful, rich cream.
What You'll Need:
- Flesh from 1-2 mature coconuts (look for firm, white flesh, not dried out)
- 1-2 cups of filtered water (start with less, add more if needed)
- A high-speed blender
- A fine-mesh sieve or colander
- Cheesecloth or a clean nut milk bag
- A bowl for collecting the liquid
- An airtight container or jar for storage
Step-by-Step Guide:
1.
Prepare Your Coconut Flesh: If you're starting with whole coconuts, crack them open, drain the water (if any), and carefully pry out the white flesh. Scrape off any brown skin adhering to the flesh. Cut the coconut meat into smaller, manageable pieces, roughly 1-inch chunks, to ensure even blending.
2.
Blend with Water: Place the coconut pieces into your high-speed blender. Add 1 cup of filtered water. Blend on high for 2-3 minutes until the mixture is completely smooth and creamy. The longer you blend, the more thoroughly the cream will be extracted. You should see a thick, white, frothy liquid. If the blender struggles, add a little more water, a tablespoon at a time, but remember that less water equals thicker cream.
3.
Strain the Mixture: Line your fine-mesh sieve or colander with 2-3 layers of cheesecloth or place your nut milk bag inside. Position it over a large bowl. Pour the blended coconut mixture into the lined sieve/bag.
4.
Extract the Cream: Gather the edges of the cheesecloth or the top of the nut milk bag and squeeze firmly. This is where you extract the liquid gold! Squeeze every last drop until the pulp feels relatively dry. The liquid collected in the bowl is your raw coconut milk/cream mixture.
5.
Chill and Separate: Transfer the collected liquid into an airtight container or jar. Place it in the refrigerator for at least 4-6 hours, or preferably overnight. As it chills, the higher fat content will solidify and rise to the top, forming a thick layer of coconut cream, while a thinner layer of coconut milk settles underneath.
6.
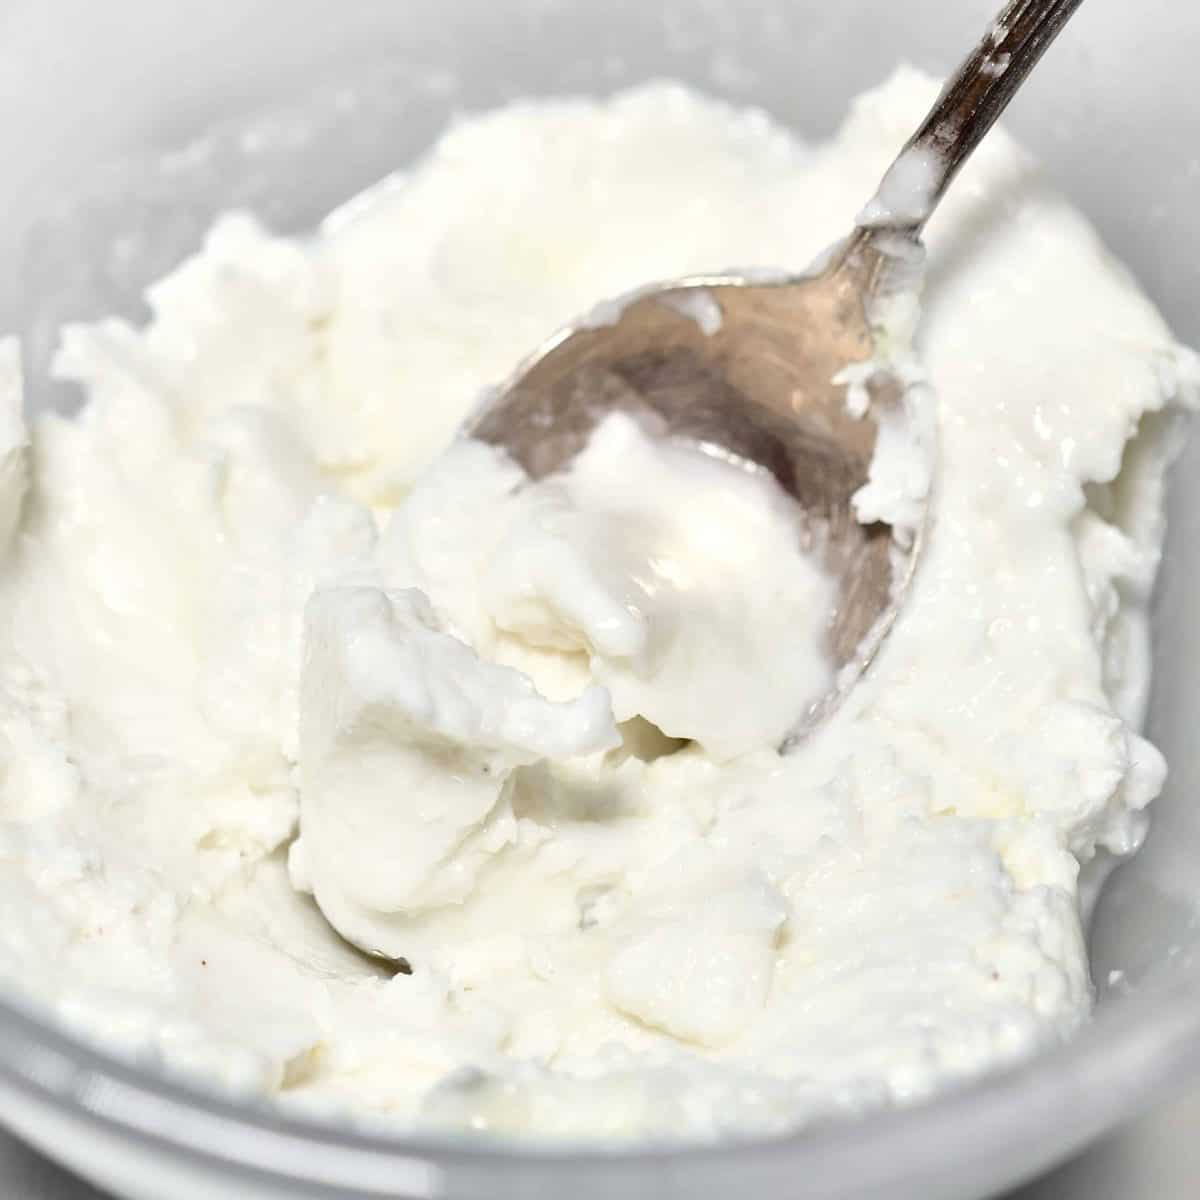
Scoop Your Cream: Once thoroughly chilled, simply open the container and carefully scoop out the thick, solid cream from the top. You'll be left with delicious, pure coconut cream ready for use, and a bonus batch of light coconut milk at the bottom, which is perfect for smoothies or lighter curries.
Tip: The leftover coconut pulp can be spread on a baking sheet and dried in a low oven (around 200°F / 95°C) for a few hours, stirring occasionally, to make homemade desiccated coconut!
Method 2: The "Cheat" Method for Super Easy Homemade Coconut Cream (Juicer Required!)
For those seeking an even more effortless path to
easy homemade coconut cream 2 ways, particularly if you own a juicer, this "cheat" method is a game-changer. It streamlines the process by eliminating the need for a blender, cheesecloth, or extensive straining.
What You'll Need:
- Flesh from 1-2 mature coconuts (the fresher, the better for juicing)
- A masticating (slow) juicer is highly recommended for best results, but a centrifugal juicer can also work.
- An airtight container or jar for storage
Step-by-Step Guide:
1.
Prepare Your Coconut Flesh: As with the traditional method, ensure your coconut flesh is clean and cut into pieces small enough to fit through your juicer's chute.
2.
Juice the Coconut: Feed the coconut pieces into your juicer. The juicer will efficiently separate the liquid (your fresh coconut cream/milk) from the dry pulp. You may need to run the pulp through the juicer a second time to extract maximum liquid.
3.
Chill and Separate (Optional but Recommended): The liquid coming out of the juicer will be a rich blend of coconut milk and cream. For a truly thick cream, transfer this liquid to an airtight container and refrigerate for 4-6 hours or overnight. Similar to Method 1, the cream will rise and solidify on top.
4.
Scoop Your Cream: Once chilled, simply scoop the thick, luscious coconut cream from the top. The remaining liquid is lighter coconut milk.
This juicer method is incredibly efficient and results in a wonderfully fresh and pure product with minimal fuss. It’s perfect when you need fresh coconut cream quickly and have the right equipment.
Unleashing the Versatility: How to Use Your Fresh Coconut Cream
Once you've mastered creating
easy homemade coconut cream 2 ways, the culinary possibilities are endless. This thick, dairy-free alternative is incredibly versatile, adding richness and depth to both sweet and savory dishes.
Savory Delights:
- Curries and Soups: Perhaps one of the most traditional uses, coconut cream adds incredible body and a subtle sweetness to curries and creamy soups. Unlike thinner coconut milk, it won't water down your dish, providing a luxurious mouthfeel. Try it in a rich Thai green curry or a comforting butternut squash soup.
- Sauces and Dips: Whisk it into savory sauces to make them thicker and creamier, or use it as a base for dairy-free dips.
- Marinades: Incorporate it into marinades for chicken or tofu to tenderize and infuse flavor.
Sweet Indulgences:
- Coconut Whipped Cream: This is a game-changer for dairy-free desserts! Simply chill your homemade coconut cream, then whip it with a mixer until light and fluffy. Use it as a topping for pies, fruit salads, hot chocolate, or as a decadent frosting for cakes and cupcakes.
- Dessert Accompaniment: Serve a dollop alongside warm puddings, fruit tarts, or baked apples as a rich, dairy-free alternative to traditional cream.
- Ice Cream: Homemade coconut cream is the absolute perfect base for crafting incredibly rich and creamy dairy-free ice creams and sorbets. Its high fat content ensures a smooth, scoopable texture.
- Smoothies & Milkshakes: Boost the creaminess and nutritional value of your morning smoothie or a refreshing milkshake.
- Cocktails: Elevate your favorite tropical cocktails, like a classic Piña Colada, with the unmatched freshness of homemade cream.
- Coffee Creamer: A spoonful can transform your morning coffee into a rich, dairy-free latte experience.
Ready to dive into more delicious recipes with your homemade cream? Check out our guide:
Homemade Coconut Cream: Ditch Canned, Get Fresh & Dairy-Free.
Conclusion
Making
easy homemade coconut cream 2 ways is an incredibly rewarding experience that empowers you to create a superior, fresh, and additive-free dairy alternative right in your own kitchen. Whether you opt for the traditional blender-and-strain method or the super-simple juicer "cheat," you’ll be amazed at how effortlessly you can produce this versatile ingredient. From enriching savory curries to whipping up fluffy dessert toppings, fresh coconut cream offers a world of culinary possibilities that store-bought versions simply can't replicate. So, gather your coconuts, choose your preferred method, and prepare to elevate your cooking and baking with the incredible taste and texture of truly homemade coconut cream. Your taste buds (and your diet) will thank you!